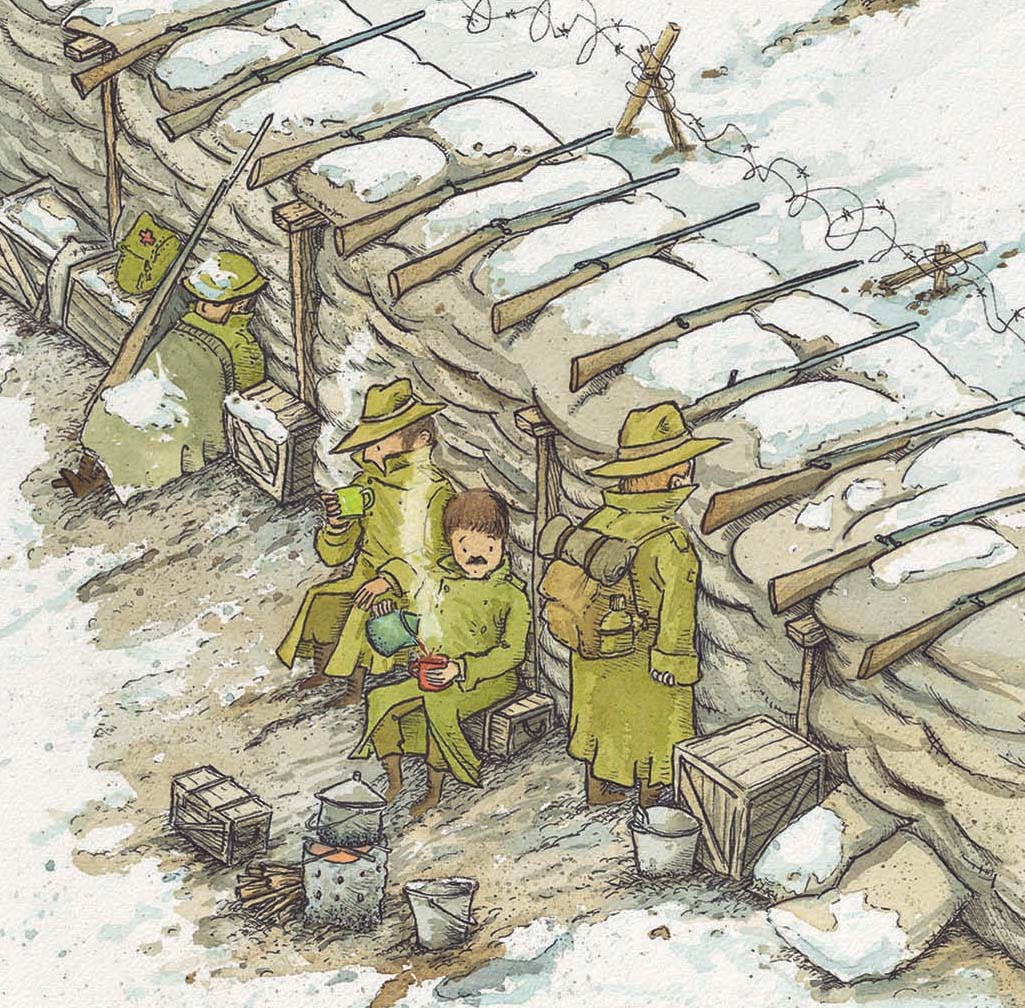
Above image from This Old Thing, this illustration uses an isometric grid to enhance the space and life in the trenches.
When I began illustrating You, Me, Community, I wanted to build a world where readers could spend time exploring the pages, noticing small details, and feel connected to the spaces the characters. To create that sense of structure and consistency, I turned to one of my favourite illustration tools: the isometric grid.
Isometric grids give me a way to build environments that a reader can look in to a space, a top-down view. The spread created using this grid system maintaining spatial map that allows to position buildings, streets, parks, and characters in a way that feels coherent from page to page.
Why I Use Isometric Grids in Picture Book Illustration
- Clear, readable spaces: Isometric drawing creates a top‑down or elevated viewpoint without the complexity of traditional perspective. This makes busy scenes easier to read and visually navigate.
- Consistency across spreads: Once the grid is established, I can place objects, characters, and buildings in a way that stays true to the world’s layout. While the grid isn’t used on every spread, it adds a consistent rhythm throughout the book.
- Playful storytelling: The slight tilt of isometric angles adds charm and energy, perfect for building scenes with lots of characters interacting in a built environment.
- Efficient workflow: With the grid in place, I can focus on character expression, colour, and storytelling details rather than constantly recalculating perspective.
A Look Behind the Scenes
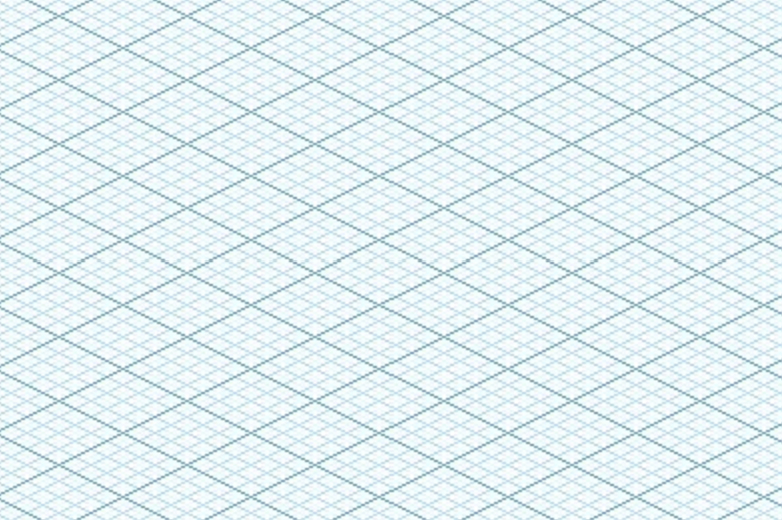
Above is a standard commercially produced grid, I prefer a less ridged grid and draw my own (see the short video below)
Below, I’ve included several finished illustrations that were built on isometric foundations.
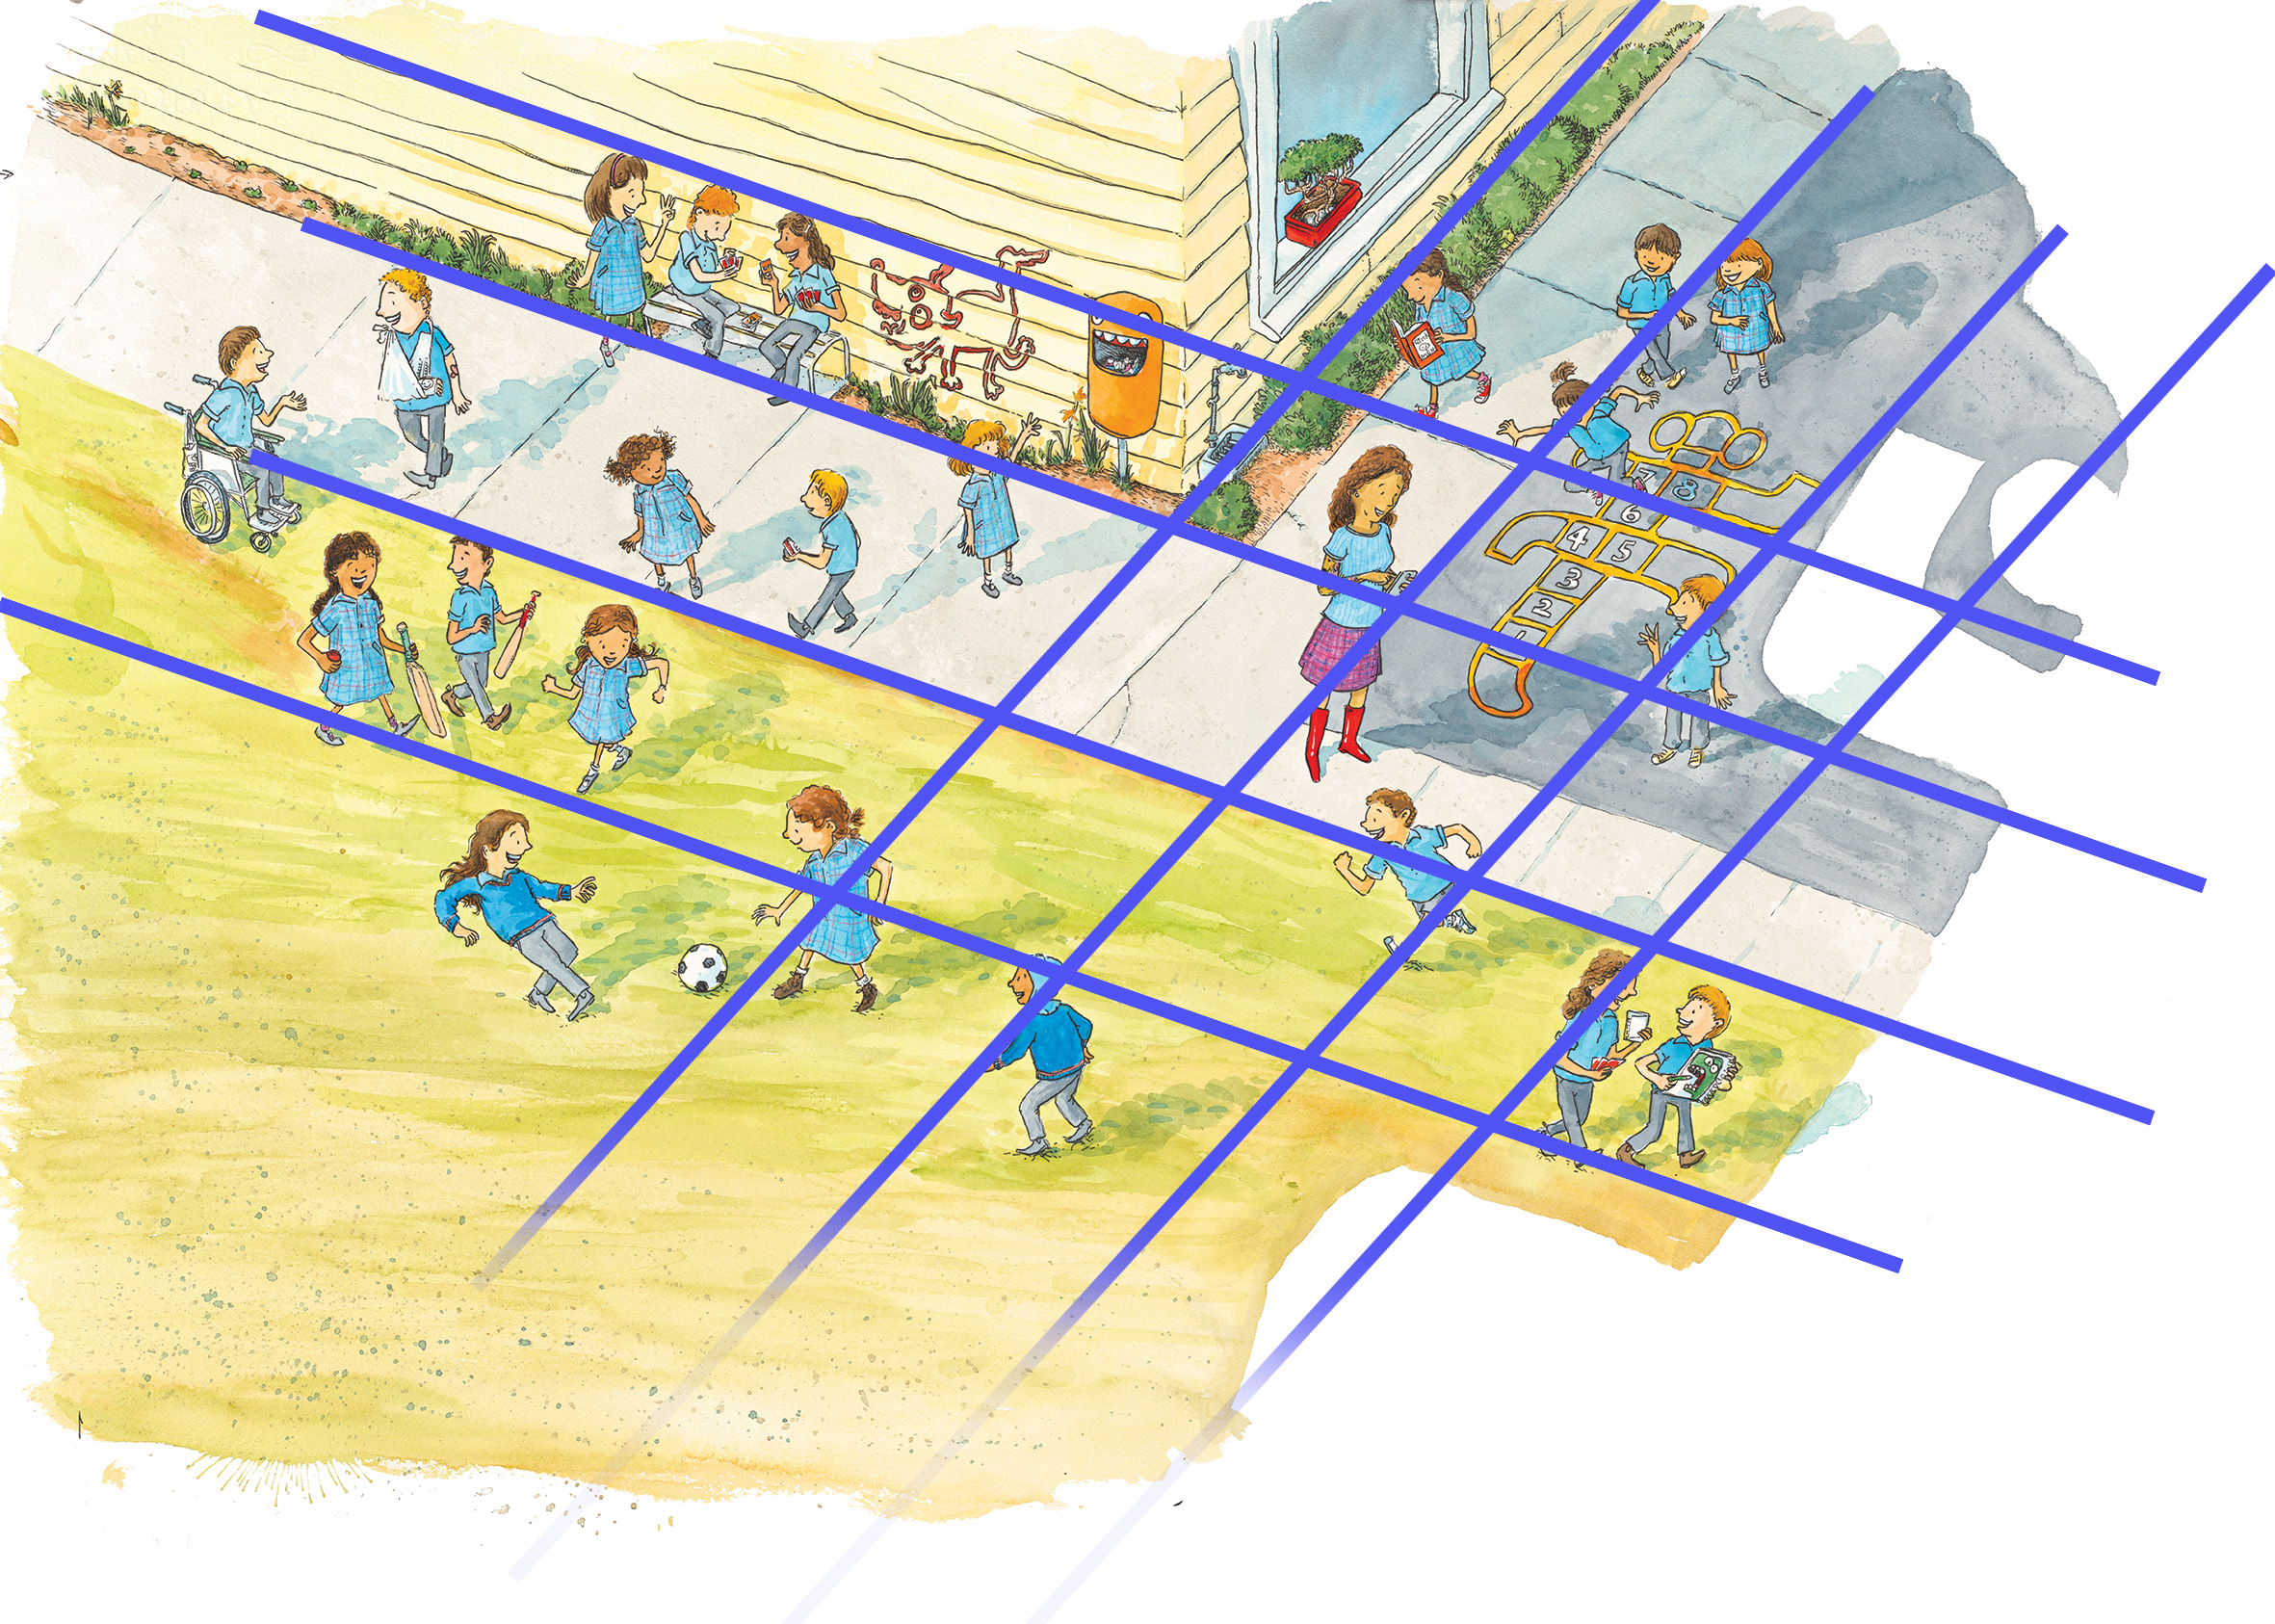
Above is the play ground scene from the start of Grandma’s First Tattoo with a gid overlay.
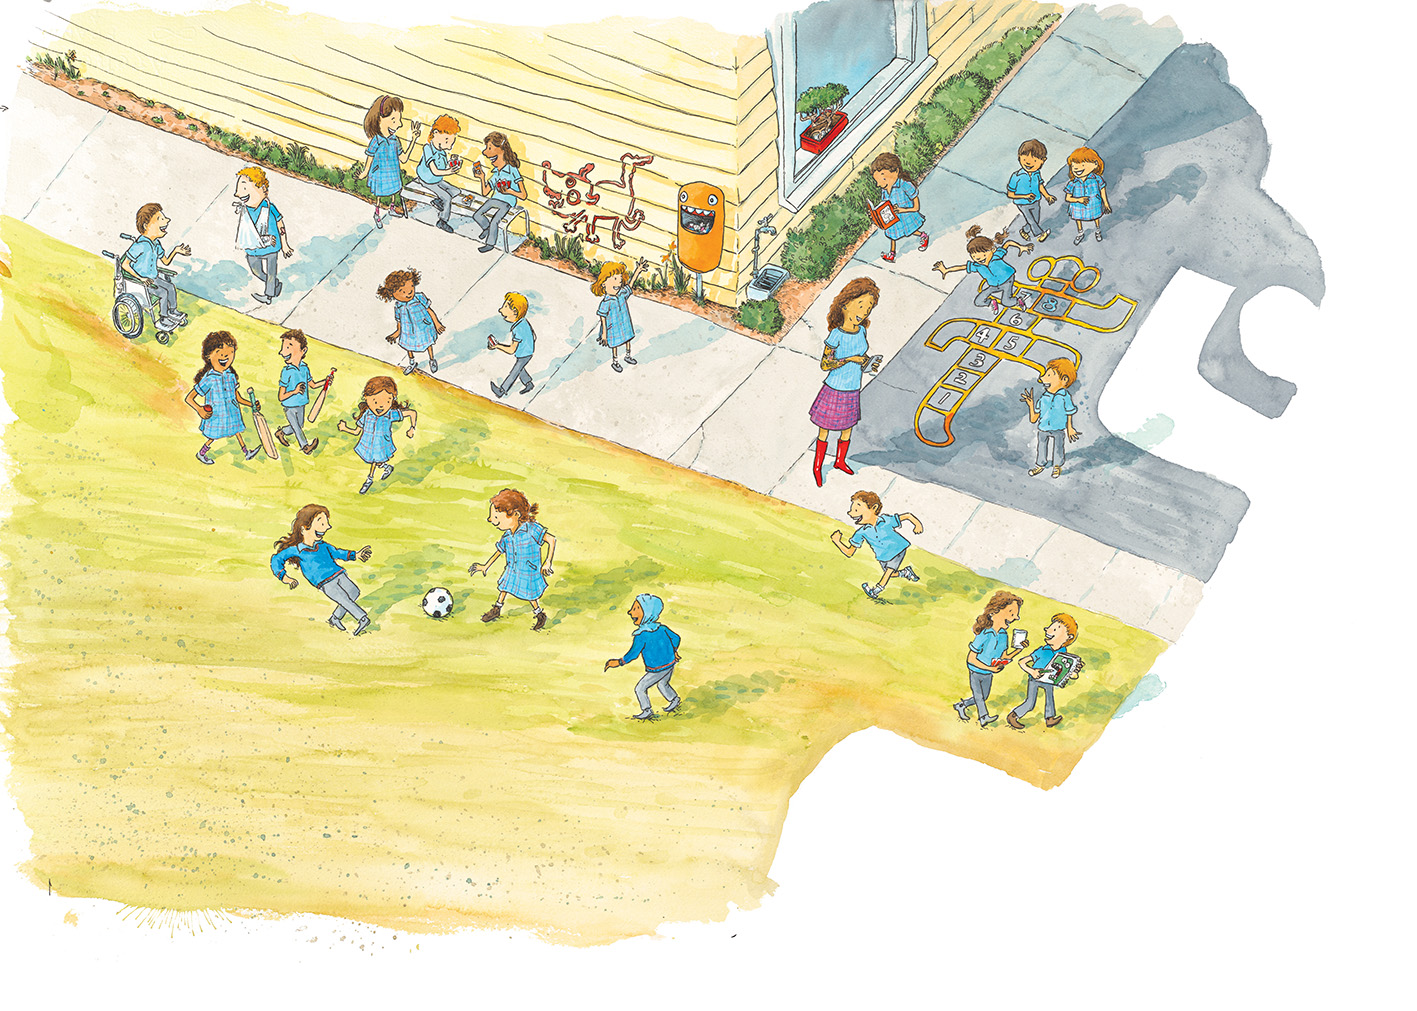
Finished image as it appears in my book.
You’ll be able to spot how the grid helps organise the environment while still allowing for story, movement, and personality.
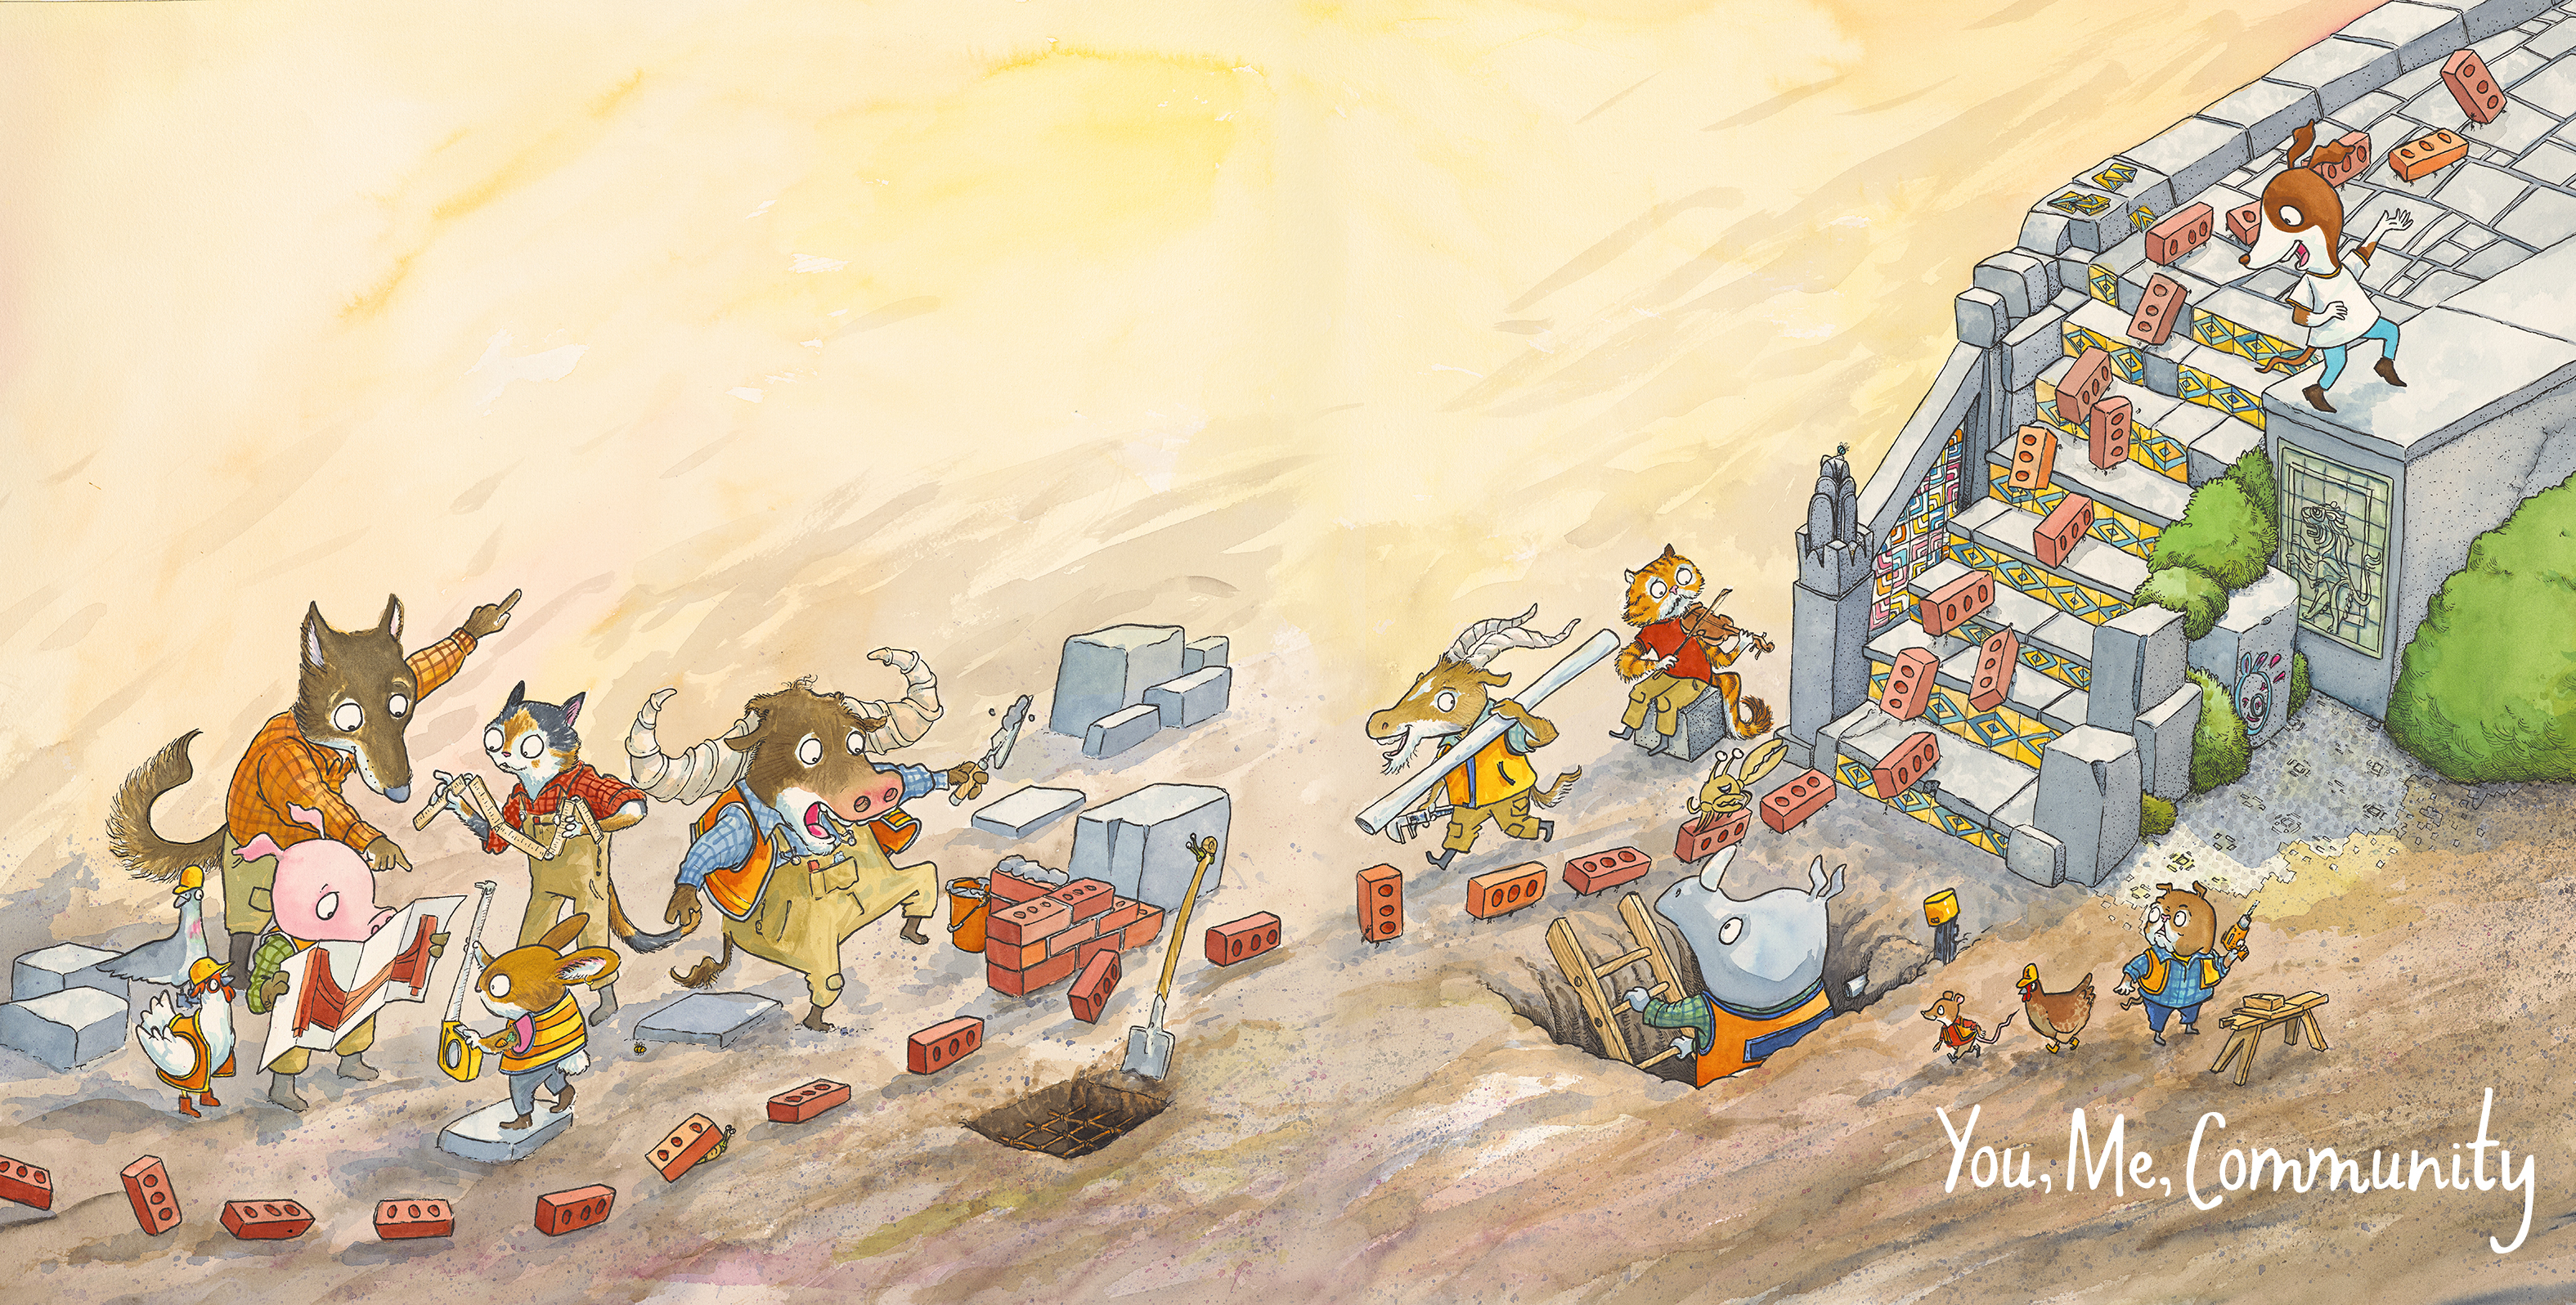
Above image from You, Me, Community
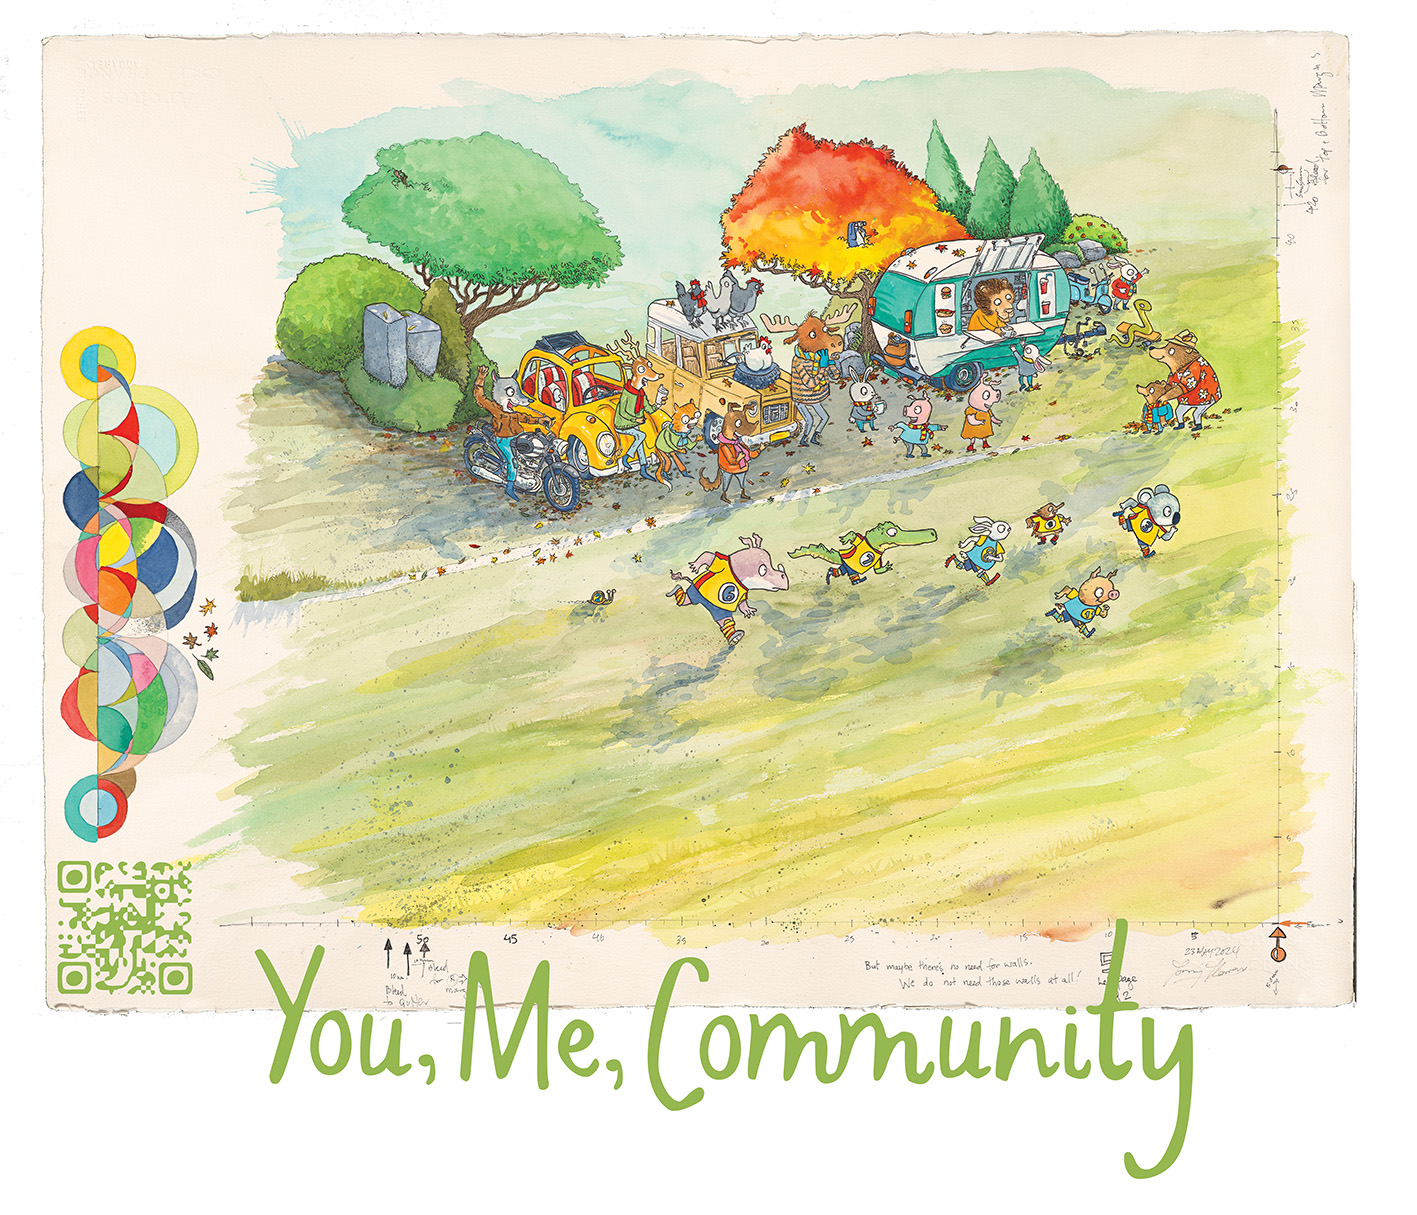
Above is one of the football (soccer) pages from You, Me, Community that uses the Isometric grid to add action to the football (soccer) game.
Below I have added a short video showing exactly how I construct and use an isometric grid in my process. This will step you through from the initial sketch through to the final artwork. It’s a simple technique, but incredibly powerful once you get the hang of it.
11:33min
Bringing Community to Life
Isometric grids might seem technical at first glance, but for me they’re simply a way to make sure every part of a story feels connected. In You, Me, Community, that sense of connection is everything and the grid helps bring it to life.
Class Activity: Building a Scene Using an Isometric Grid
Students will practise spatial reasoning, character placement, and object design by creating an isometric grid and populating it with characters and props.
1. Watch & Observe
Students re‑watch (or recall) the demonstration video. Ask them to pay attention to:
- How the isometric grid is constructed
- What tools are needed
- How objects align to the grid to maintain consistent perspective
A quick discussion prompt:
- “What visual advantages does an isometric grid give us when illustrating a scene?”
2. Create Your Own Isometric Grid
Students follow the steps shown in the video:
- Draw the first angled lines, building the other from the first.
- Rotate the ruler to create the opposing angled lines
- Build out the grid with evenly spaced parallel lines
- Draw the horizonal lines to complete the grid
Tip for students:
- Draw the grid in light pencil lines.
3. Populate the Grid with Characters & Objects
Students now use the grid as a “stage” to place characters and props.
Requirements:
- At least two characters placed at different positions on the grid (think about how they might interact, are they looking at each other? moving in the same direction? or are they disconnected?)
- At least three objects (e.g., table, tree, robot, bookcase, mailbox)
- All characters and objects must follow the grid’s base angles and alignment
Focus points:
- Characters should sit on the grid, not float (adding shadows helps with this)
- Objects should follow the isometric angles (no front‑on or side‑on cheats)
4. Add Storytelling Details
Encourage students to add:
- Props that hint at a narrative (what are the characters holding, reaching for or interacting with?)
- Interactions between characters (how do the characters feel about each other? How might you show this?)
- Environmental elements (paths, fences, stepping stones, etc.)
Please feel free to message me with the out comes of your classroom experiments with isometric grids.
I hope you enjoy this behind‑the‑scenes look at the process.
 Divi & Frey
Leave a comment