One of the most common questions I get asked is, “Where do your ideas come from?” Like many illustrators, I stay open to inspiration in everyday life. But for my graphic novel series Divi & Frey, I had to take that to a whole new level—turning daily moments into full-blown adventures.
To create the Paris-based story with Egyptian sections for Book 1, I spent time as an artist-in-residence at the Cité des Arts in Paris and travelled for three weeks through Egypt. These experiences filled my sketchbooks with moments that would later shape the story.
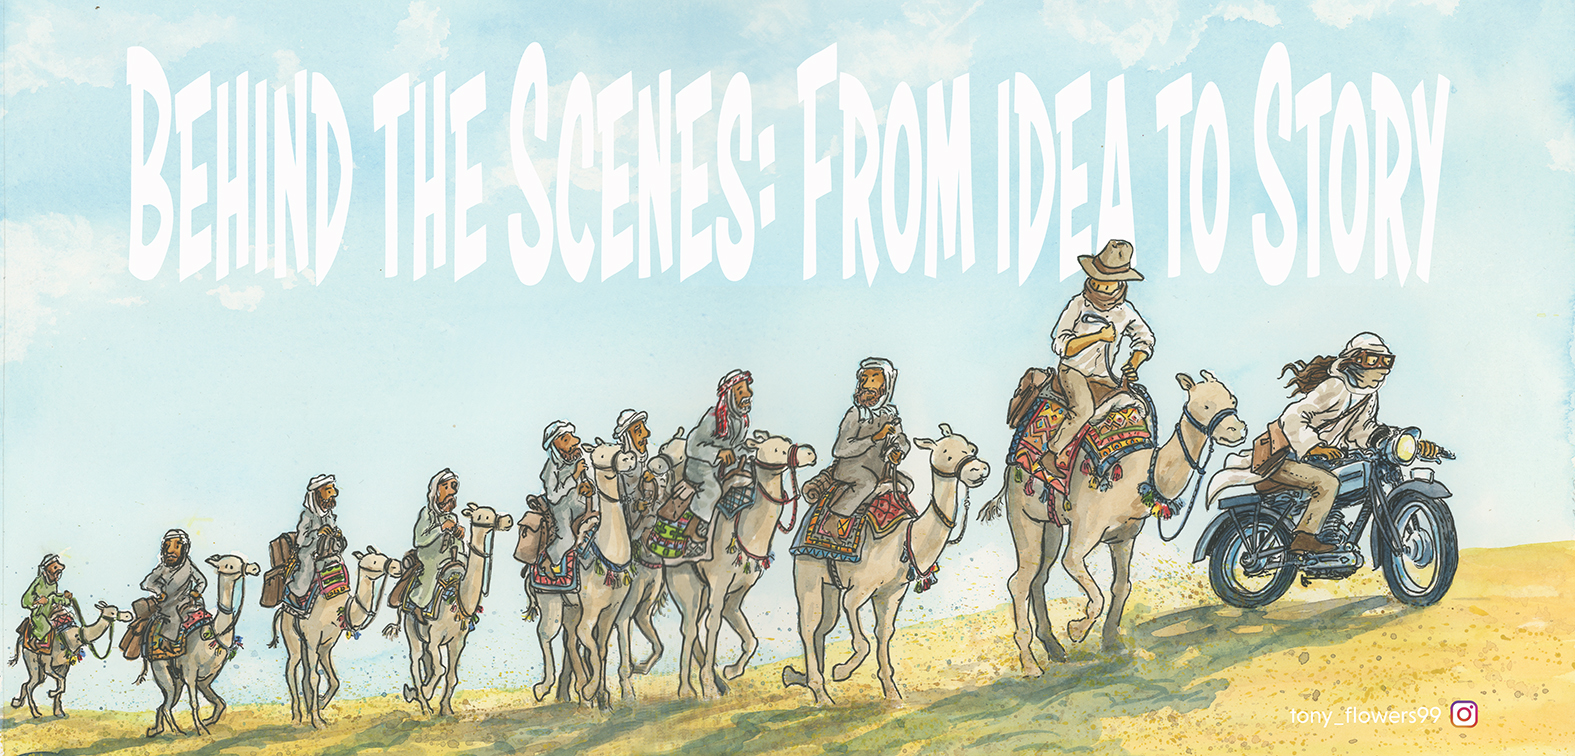
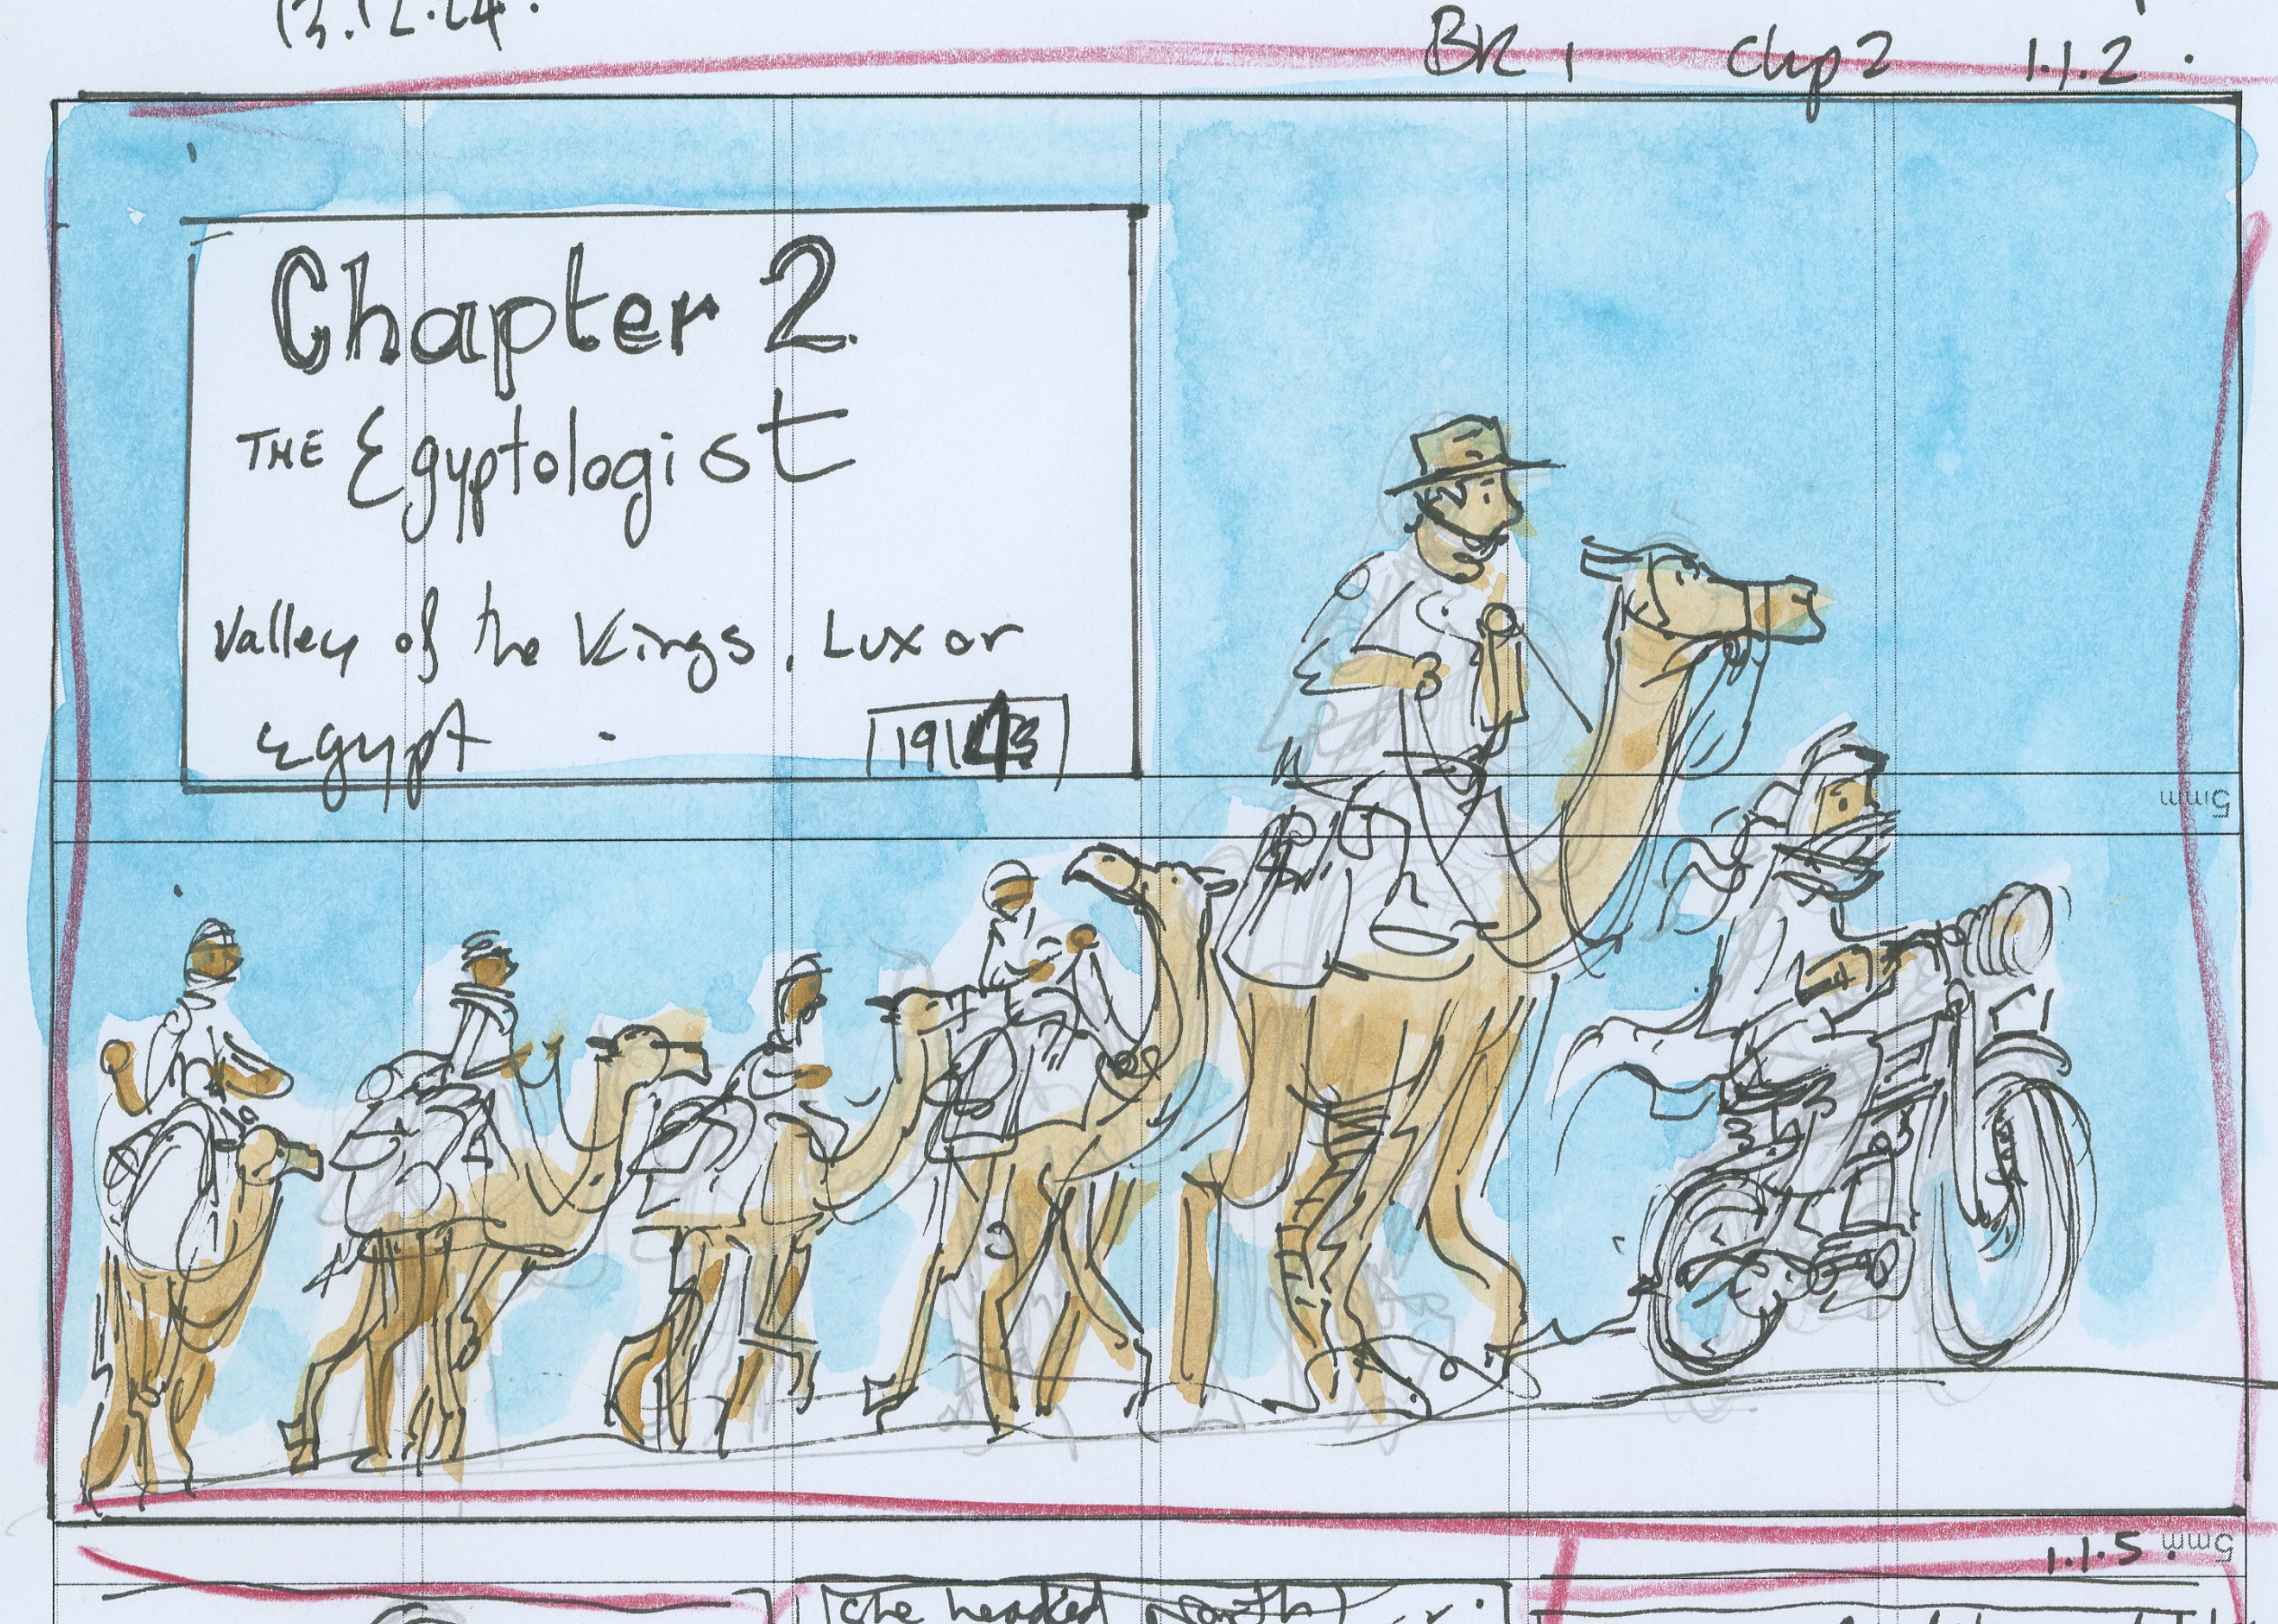
For this first ‘Behind the Scenes’ post, I thought the Chapter 2 banner (image above) would be a great example of how a moment and a sketch evolve into a finished illustration.
Step 1: The Idea Spark
Inspiration often begins with a fleeting moment—a place, a smell, a story, or a feeling. I jot down notes or sketch in my A5 landscape sketchbook to capture the mood and explore the subject. I also take reference photos to help fill in the details later.
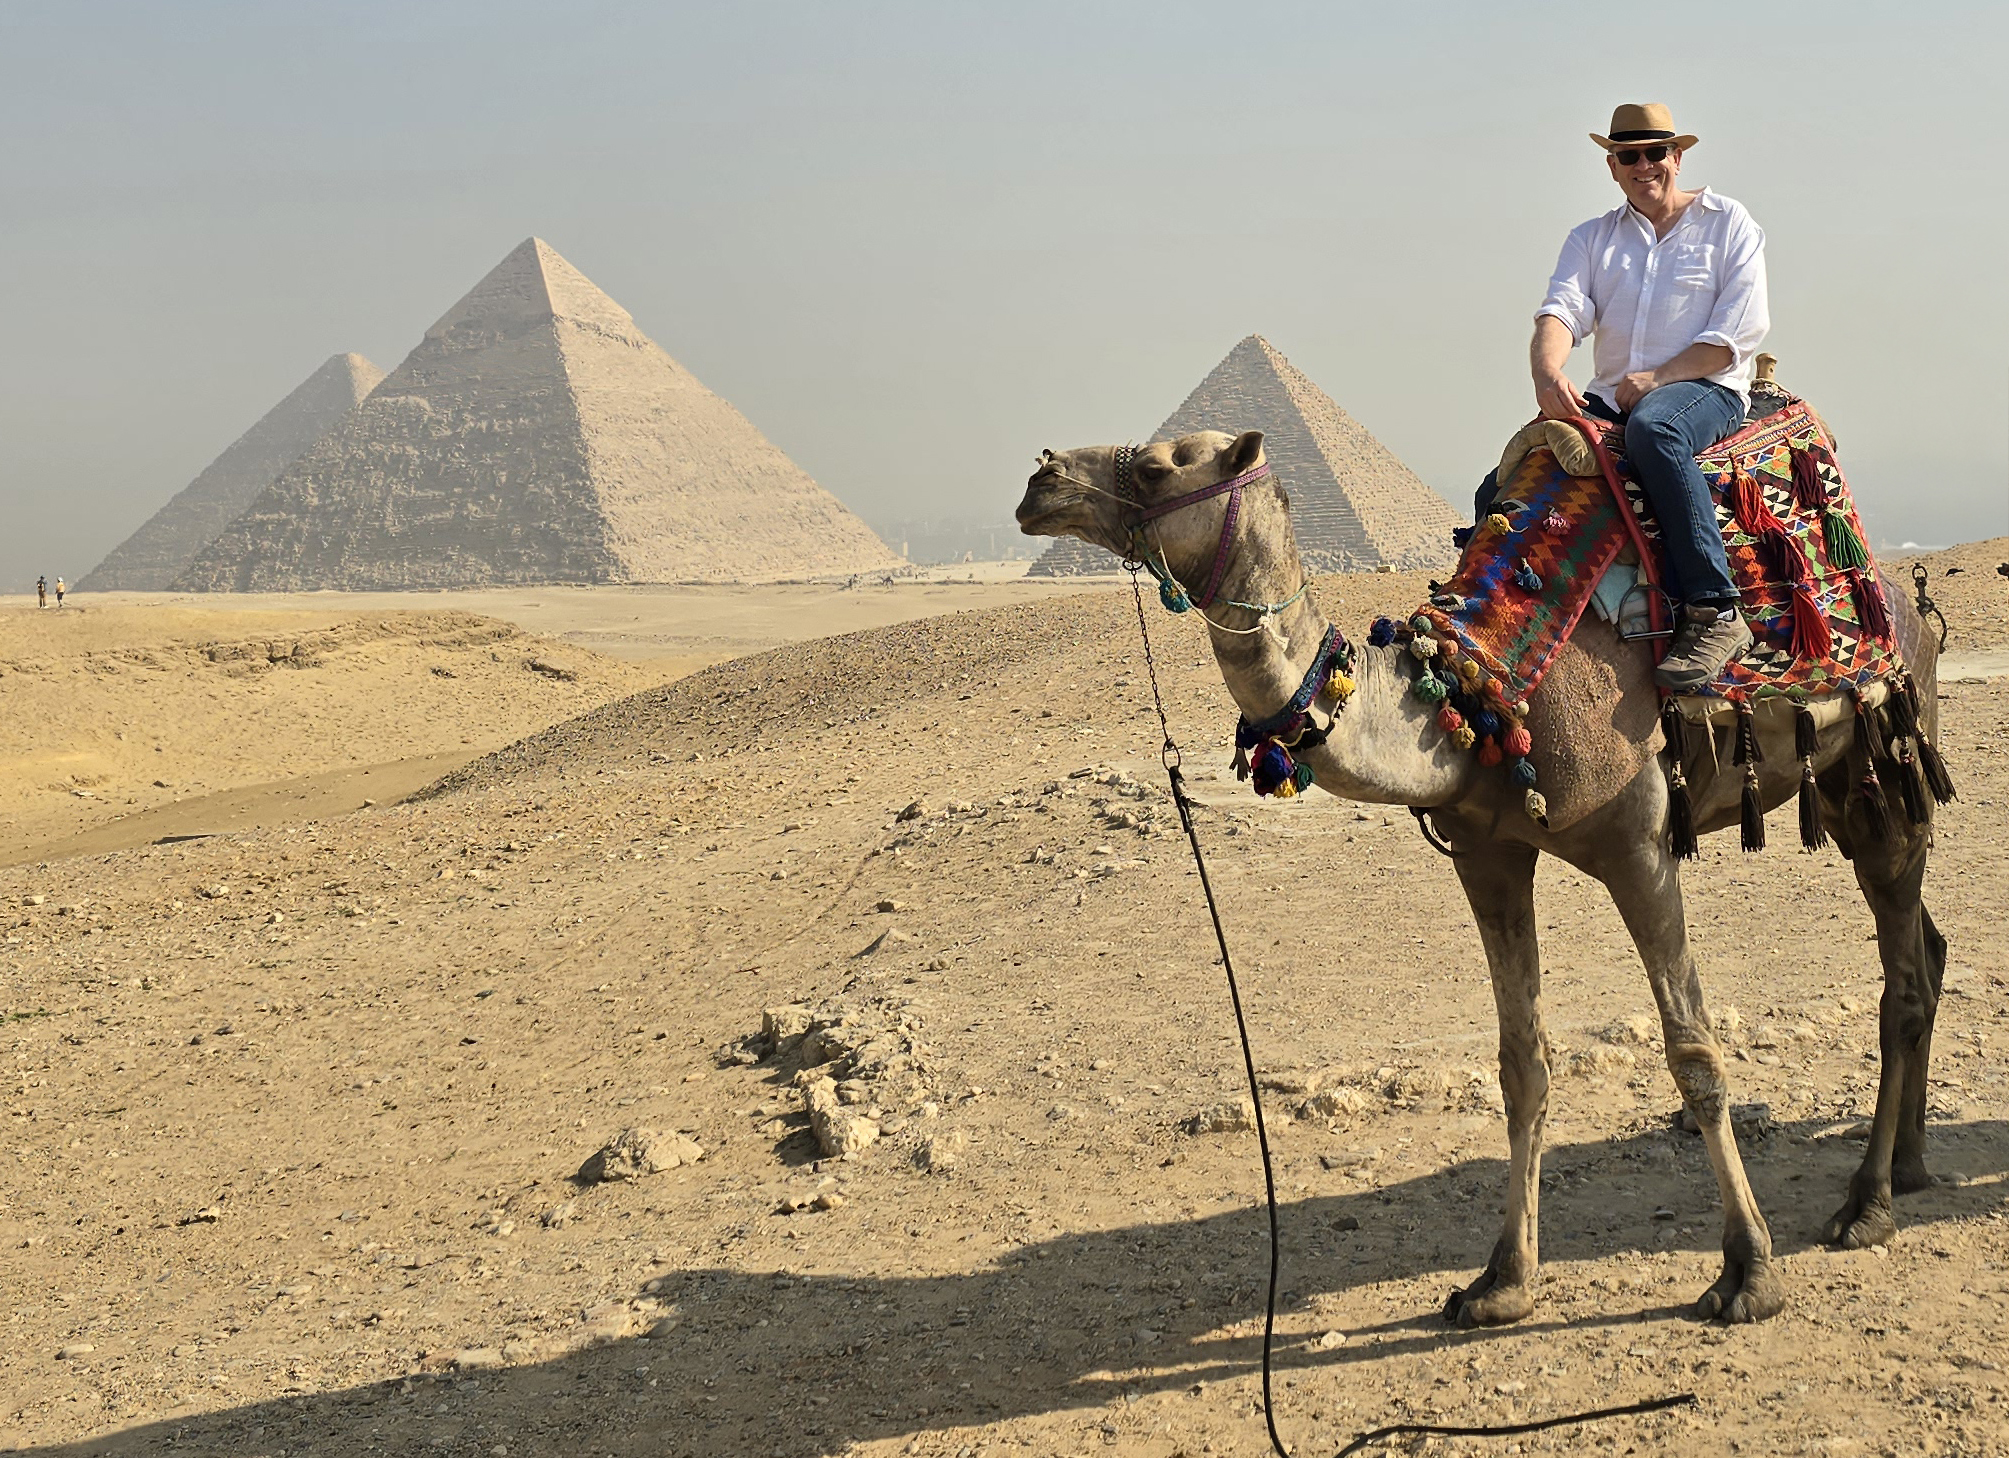
The Pyramids of Giza (December 2024)
Step 2: Rough Sketches
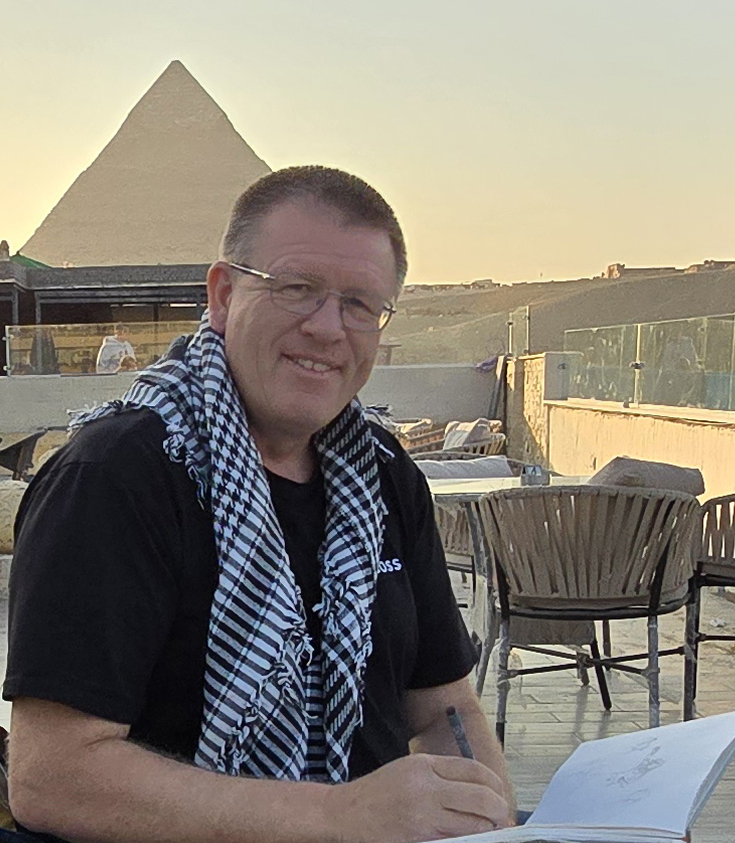
Sketching by the Pyramids (December 2024)
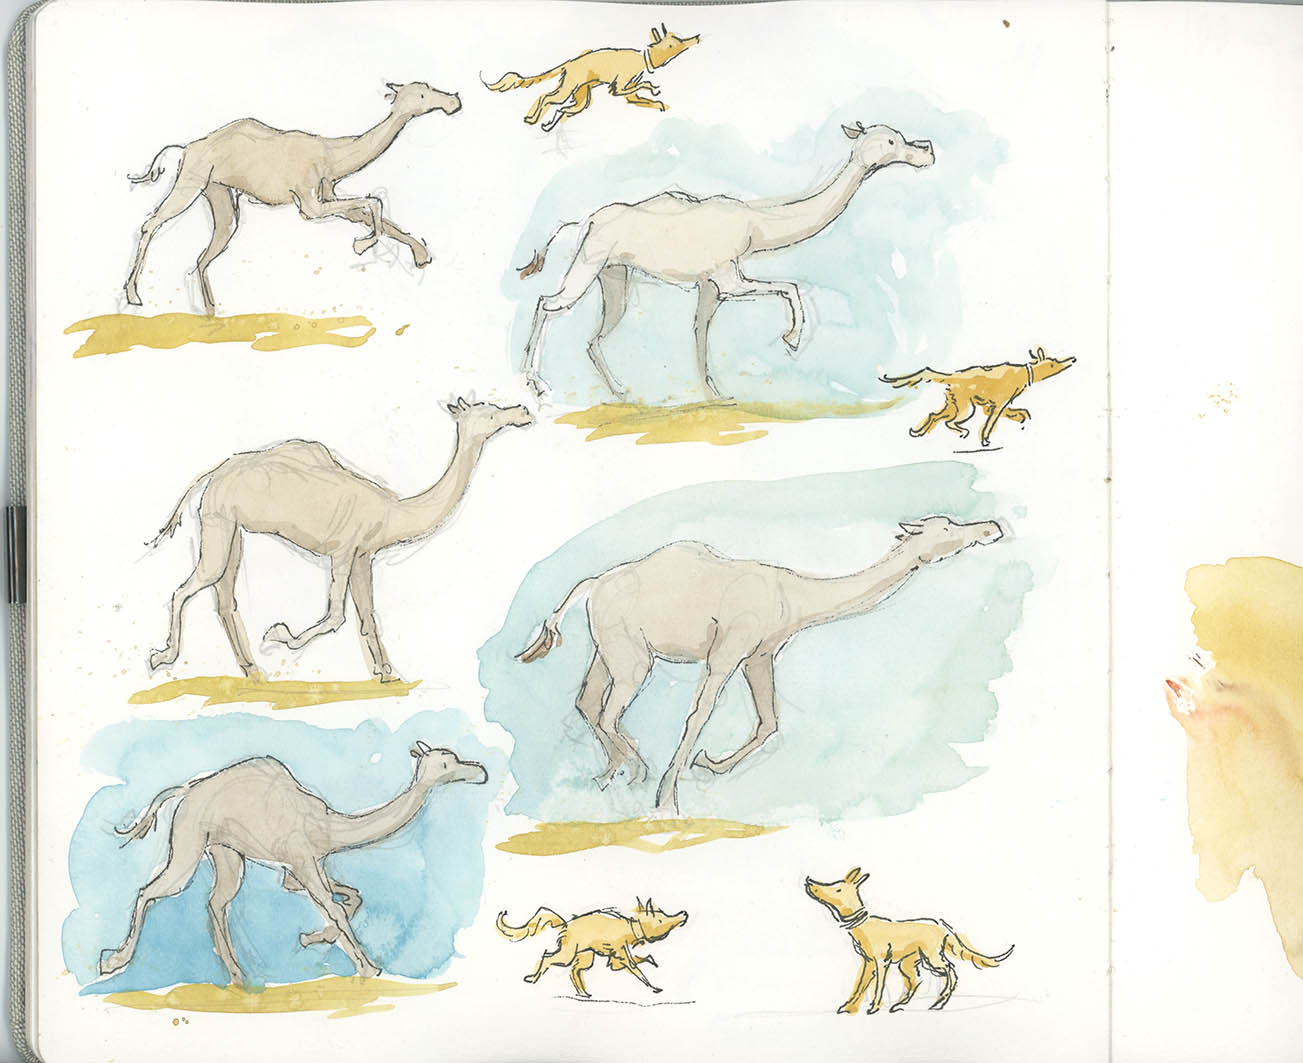
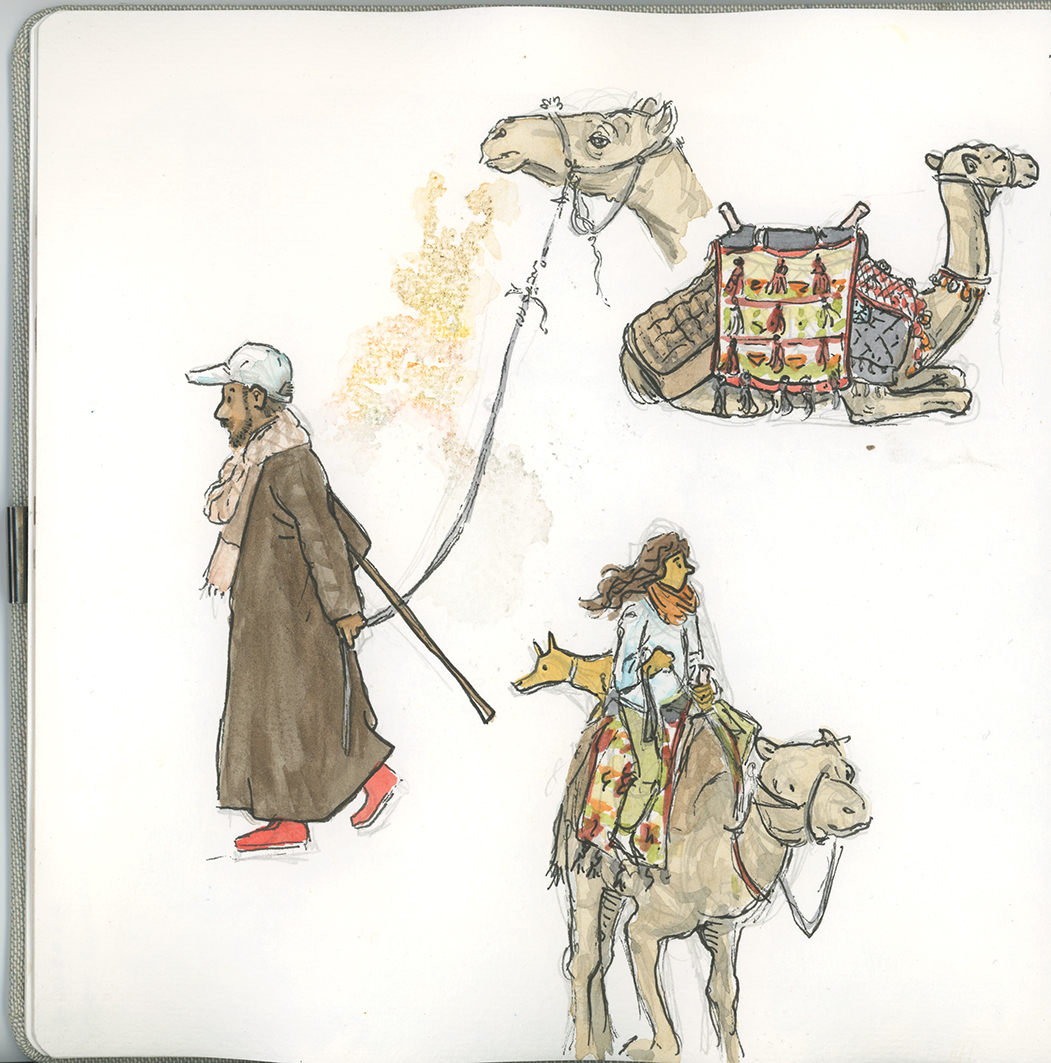
This is one of my favourite stages. I sketch fast and loose—sometimes dozens of versions of a character or scene. It’s messy, experimental, and often only makes sense to me. I treat it like casting actors, testing wardrobe, and scouting locations for a visual story.
Step 3: Refining the Composition
Once a rough sketch feels right, I refine the lines, adjust the layout, and add background elements. I think about how the illustration will work with the text. Then I storyboard the sequence—mapping how each scene connects and how the reader’s eye moves across the page. It’s like choreographing a silent dance.
Step 4: Final Sketch and Paper Prep
I prepare a final sketch at the scale I’ll be drawing. For Divi & Frey, I work at a 2:1 ratio for most illustrations and 1.5:1 for 3D illusion scenes. I sketch on photocopy paper, then use a light pad to trace the final outline onto watercolour paper.
Paper choice matters. I use cold-pressed 100% cotton for picture books and hot-pressed cotton for Divi & Frey to support finer linework. I stock up in bulk—30 to 40 sheets at a time—to ensure consistency across the project. Book 1 will include over 1,000 individual illustrations!
Step 5: Colour, Ink, and Final Washes
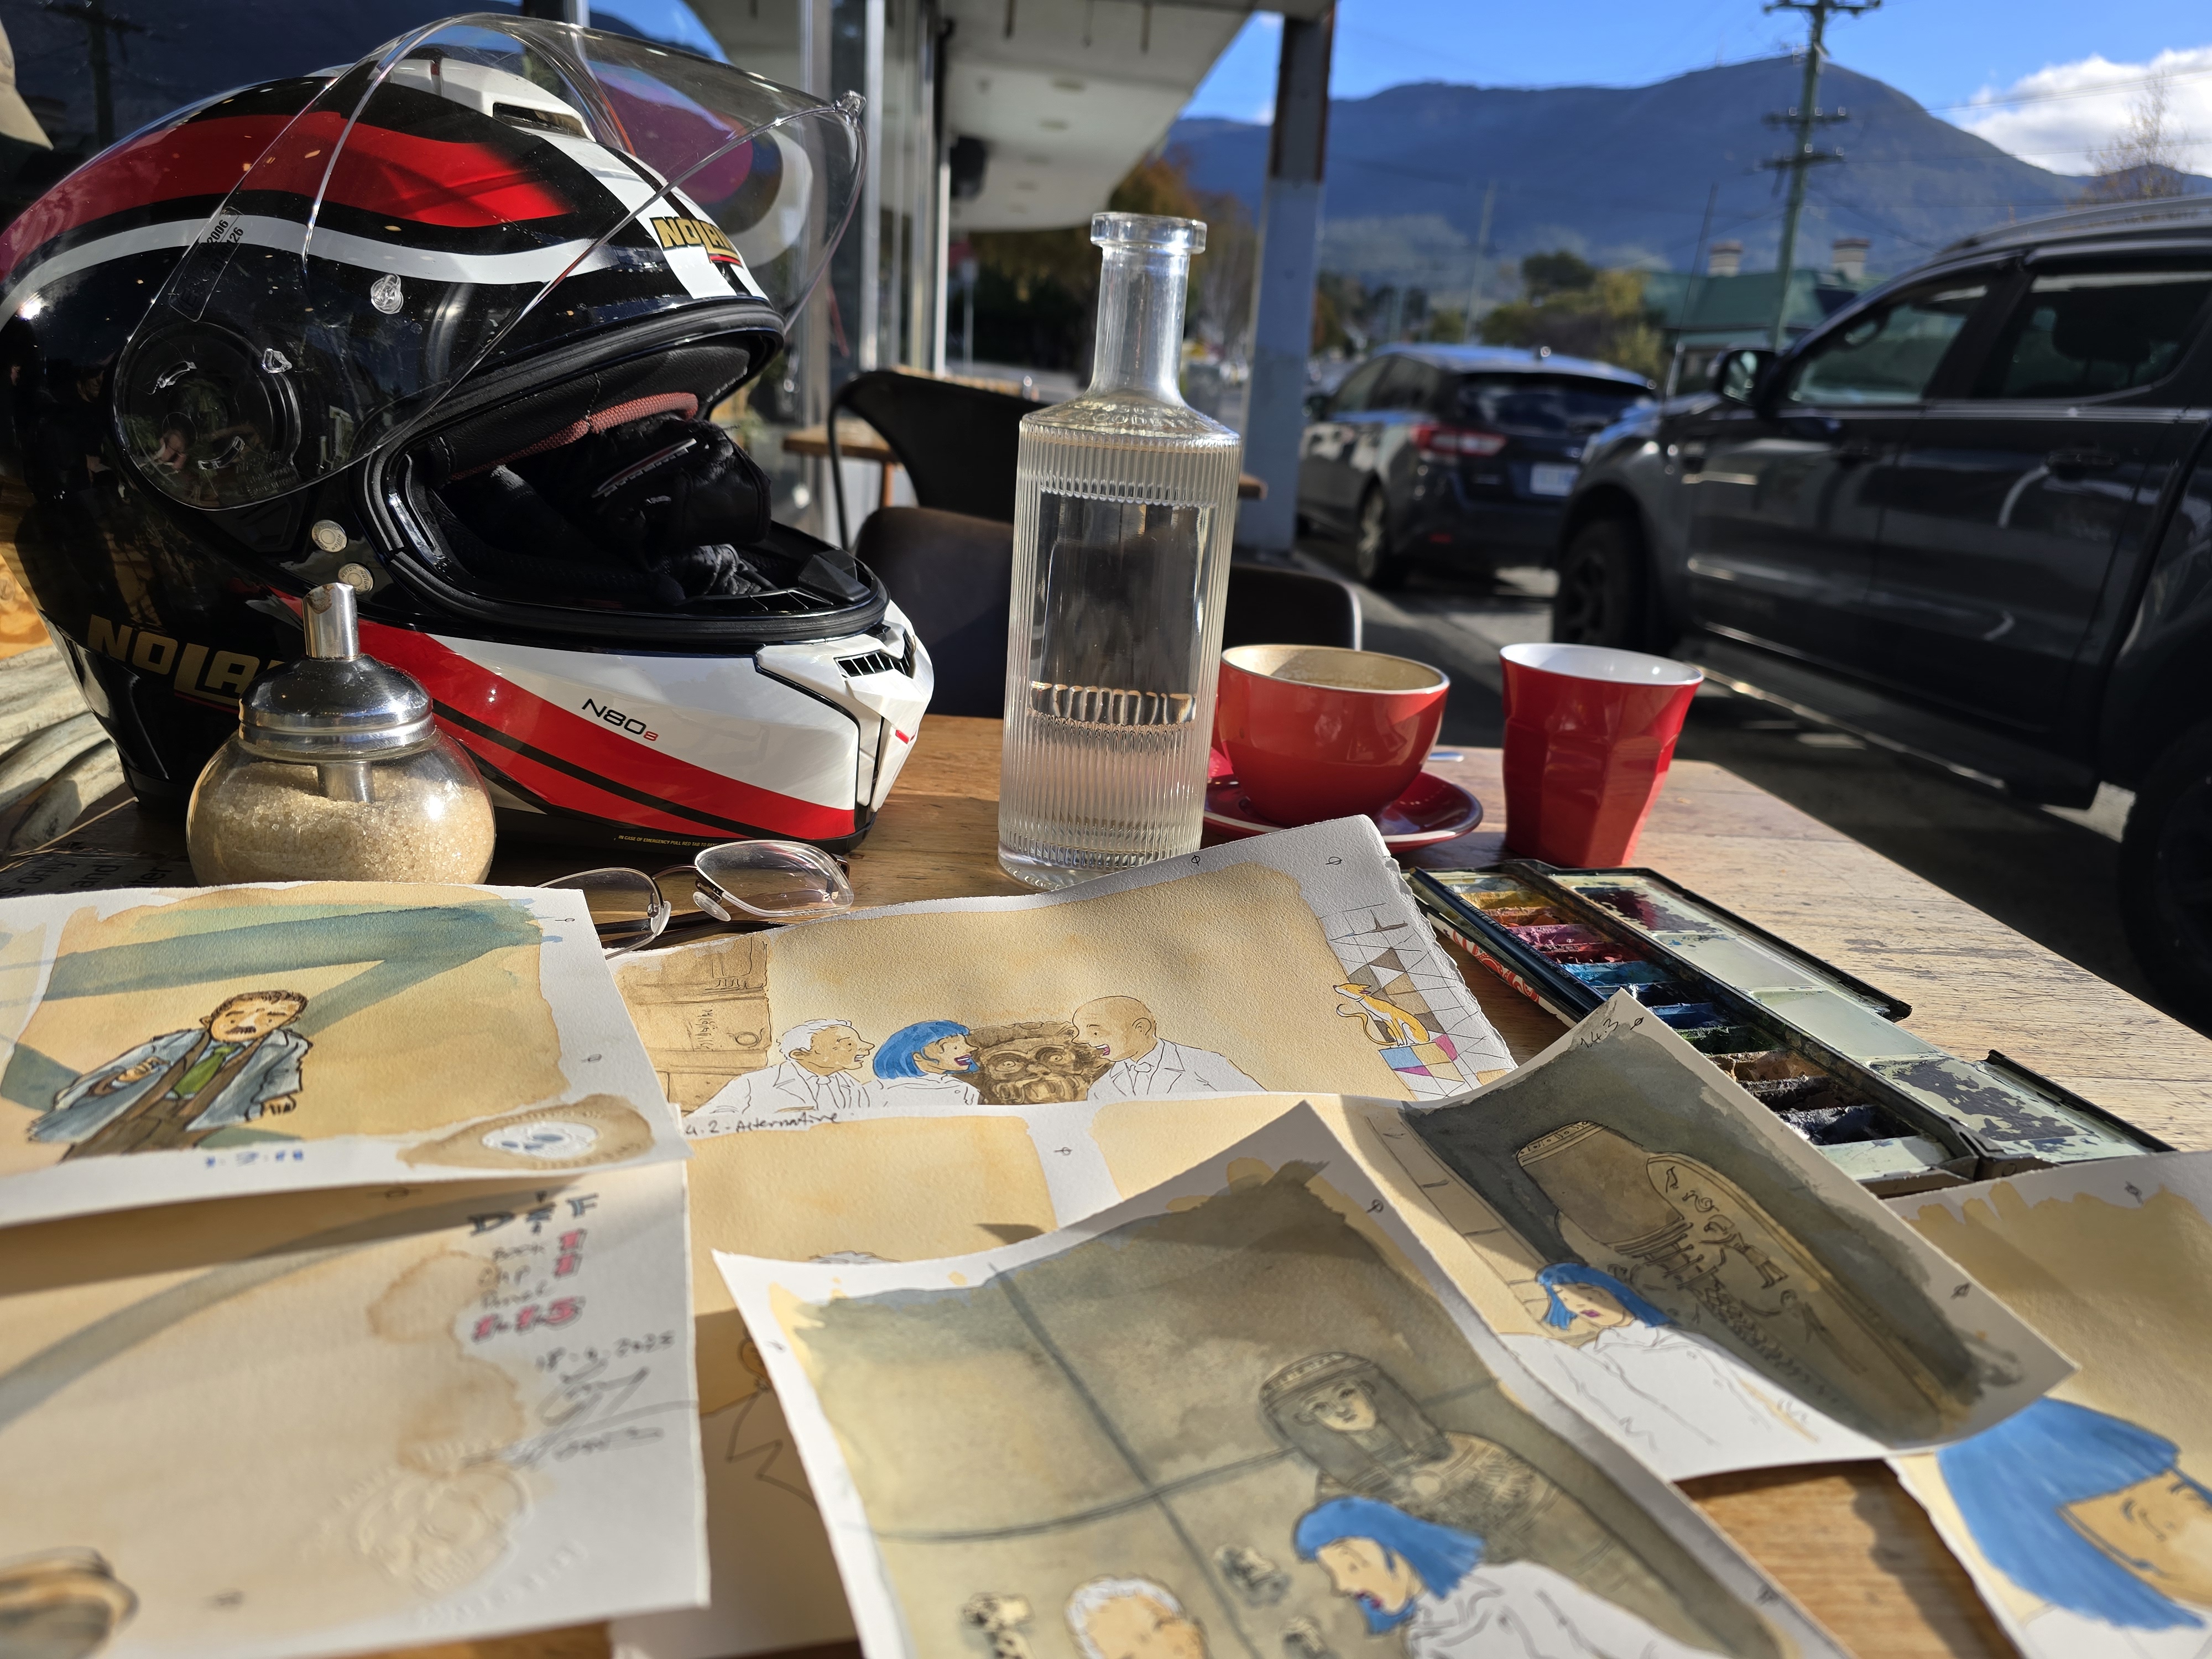
I begin with base watercolour washes, building layers gradually to create depth and texture. I focus on lighting, colour harmony, and character mood. Once the colour is about 95% done, I ink the final linework, then add shadow washes to ground the characters and unify the composition.
Step 6: Scan, Format, and Layout
Once the illustration is complete, I scan it at high resolution (usually 400 dpi or higher). Depending on your publisher, they may handle scanning and layout, so always check your contract for delivery requirements, file formats, and colour profiles.
For Divi & Frey, I place the scanned artwork into my rough layout using Adobe InDesign, positioning it alongside text and speech bubbles. This is when I truly see if the image works—cropping, framing, and flow all come together. It’s incredibly satisfying to watch a sketch come to life on the page.
Final Thoughts
Illustration isn’t just about drawing—it’s about thinking visually and chasing the story behind a moment. So next time you see a finished page in a graphic novel, remember it probably started as a scribble in the corner of a sketchbook.
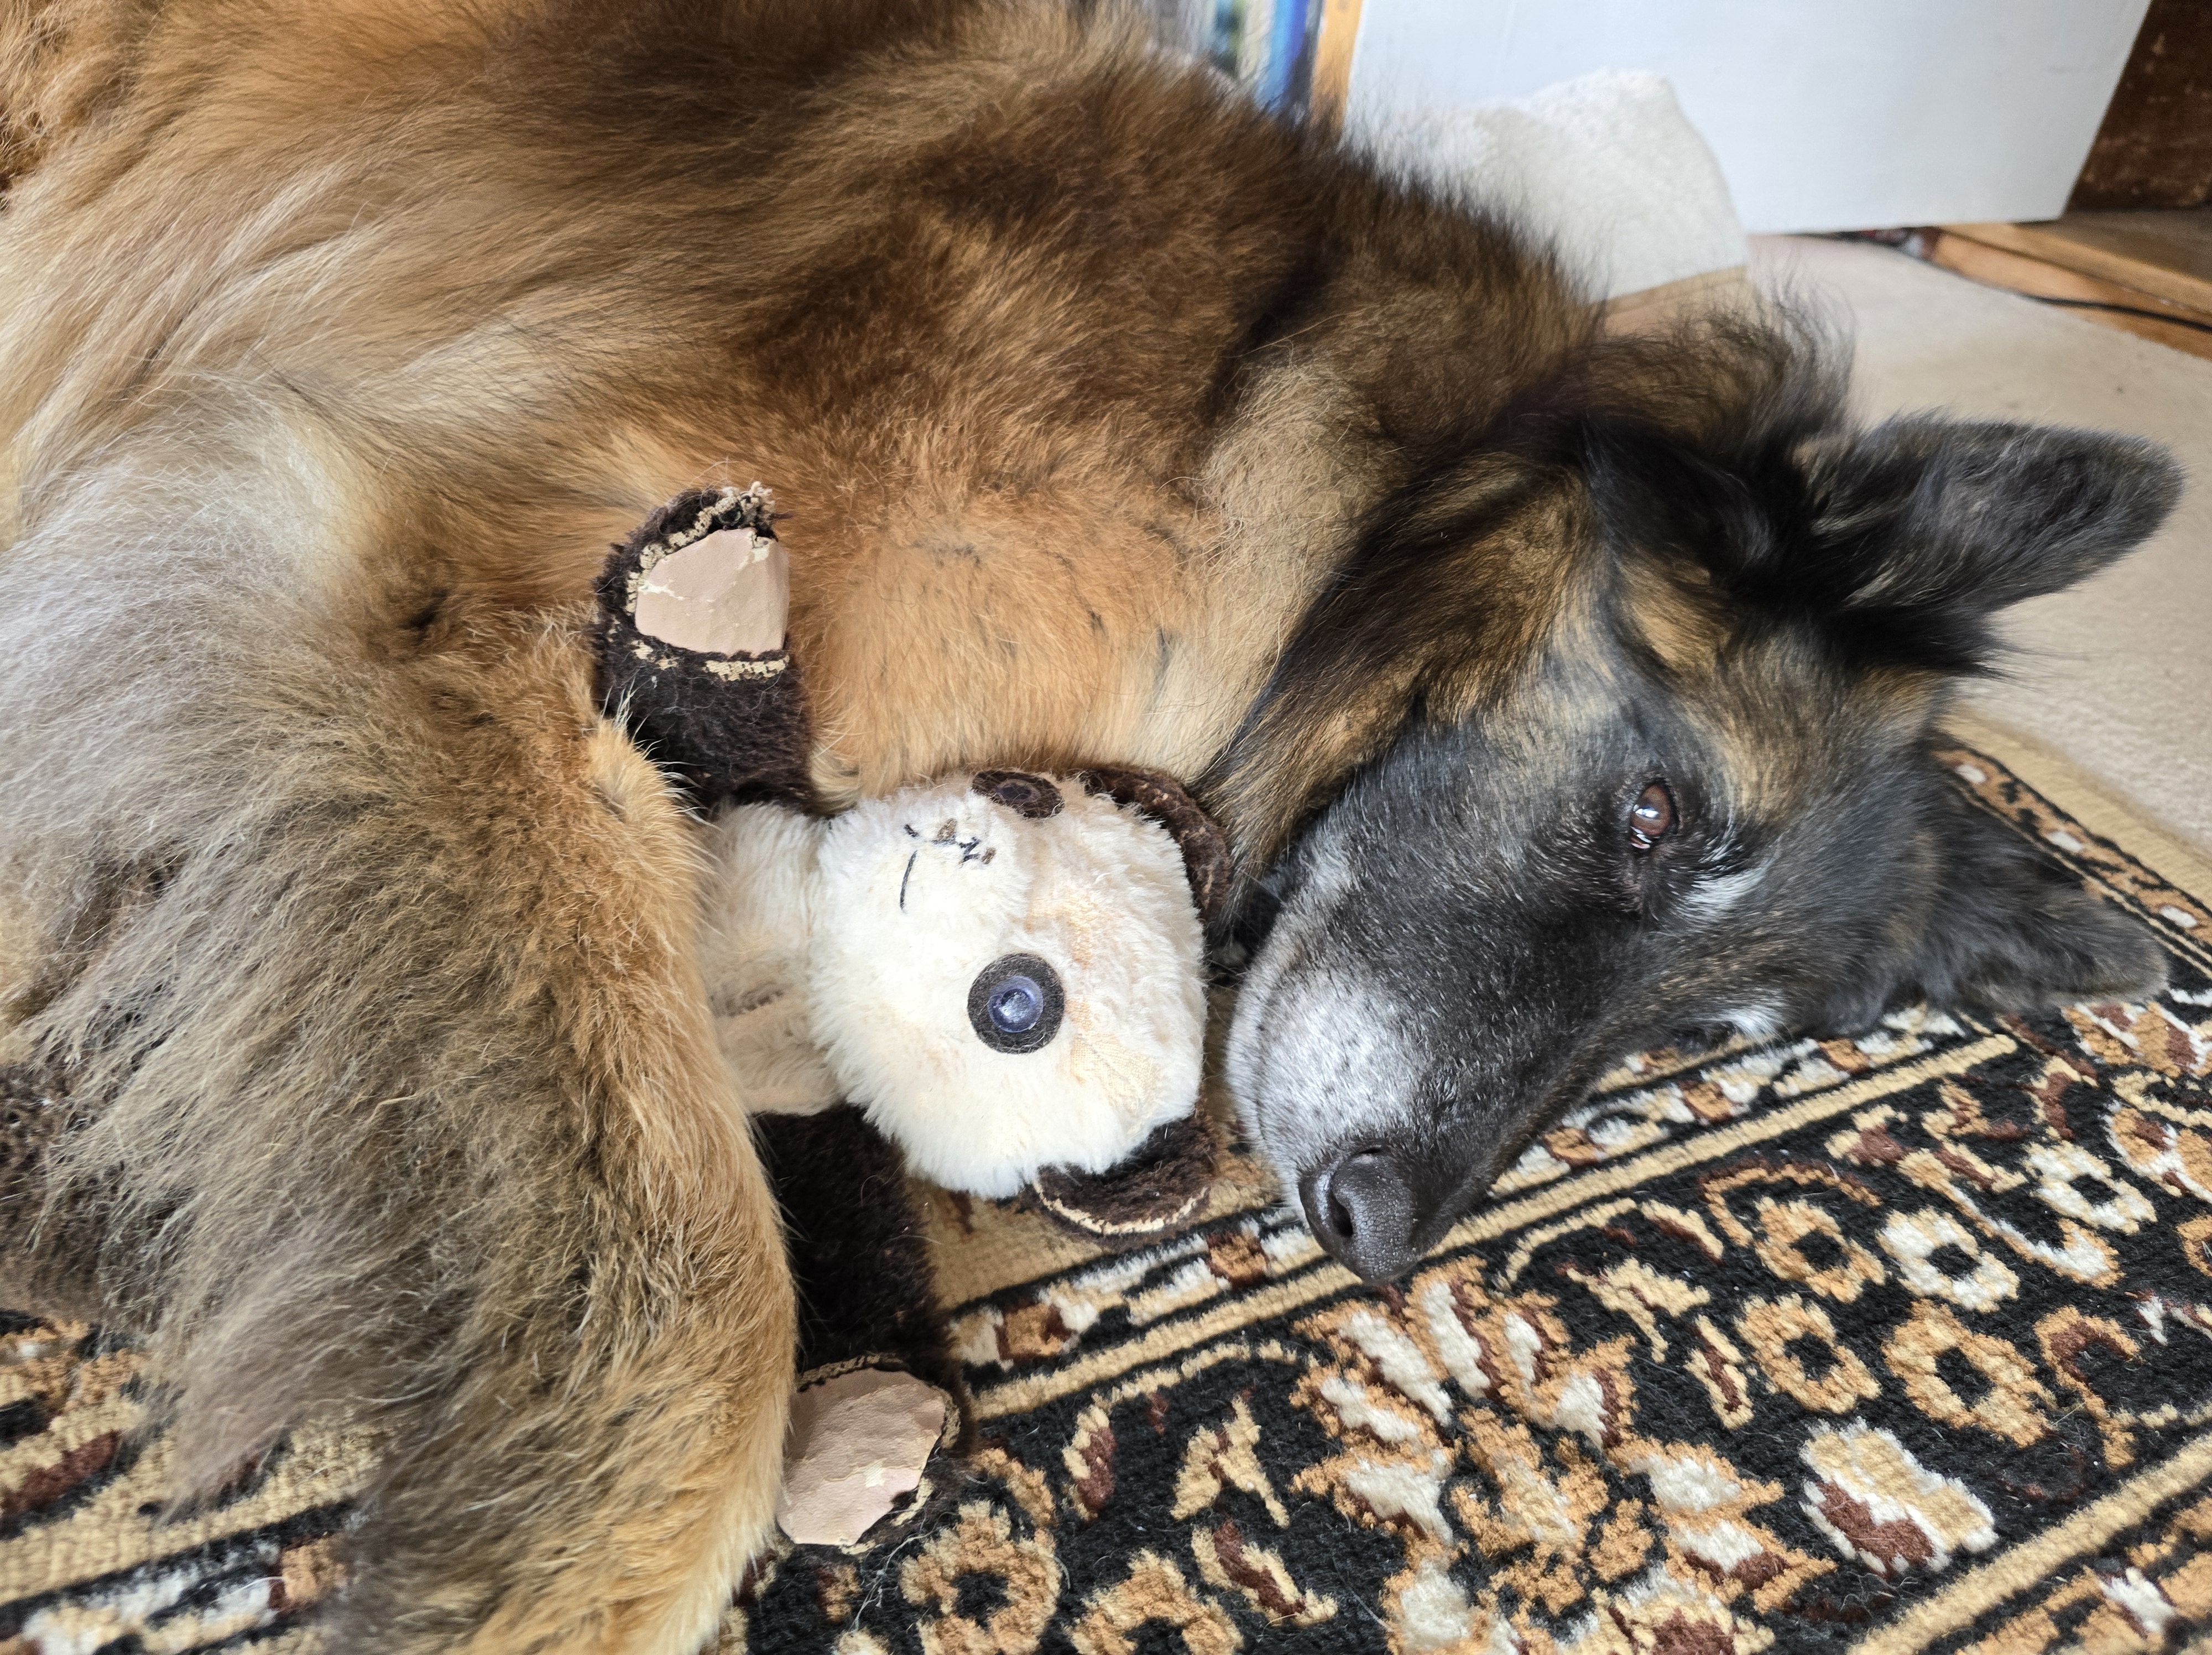
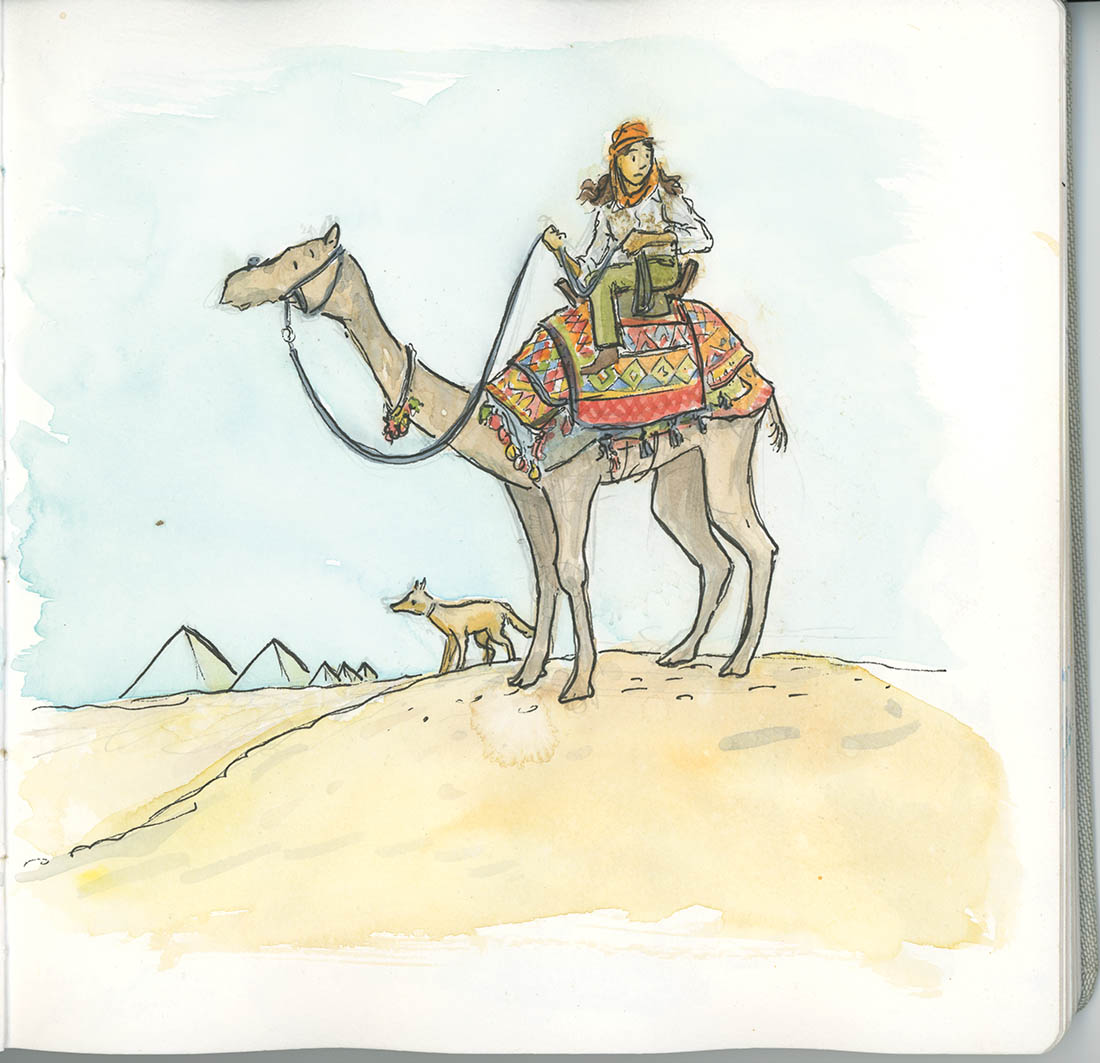
The real Frey relaxing (2025)

Leave a comment